


How can we help?
Everything you need to know about building iOS apps with Xgode.
Video guides
How to create Apple Developer Account
~9 min
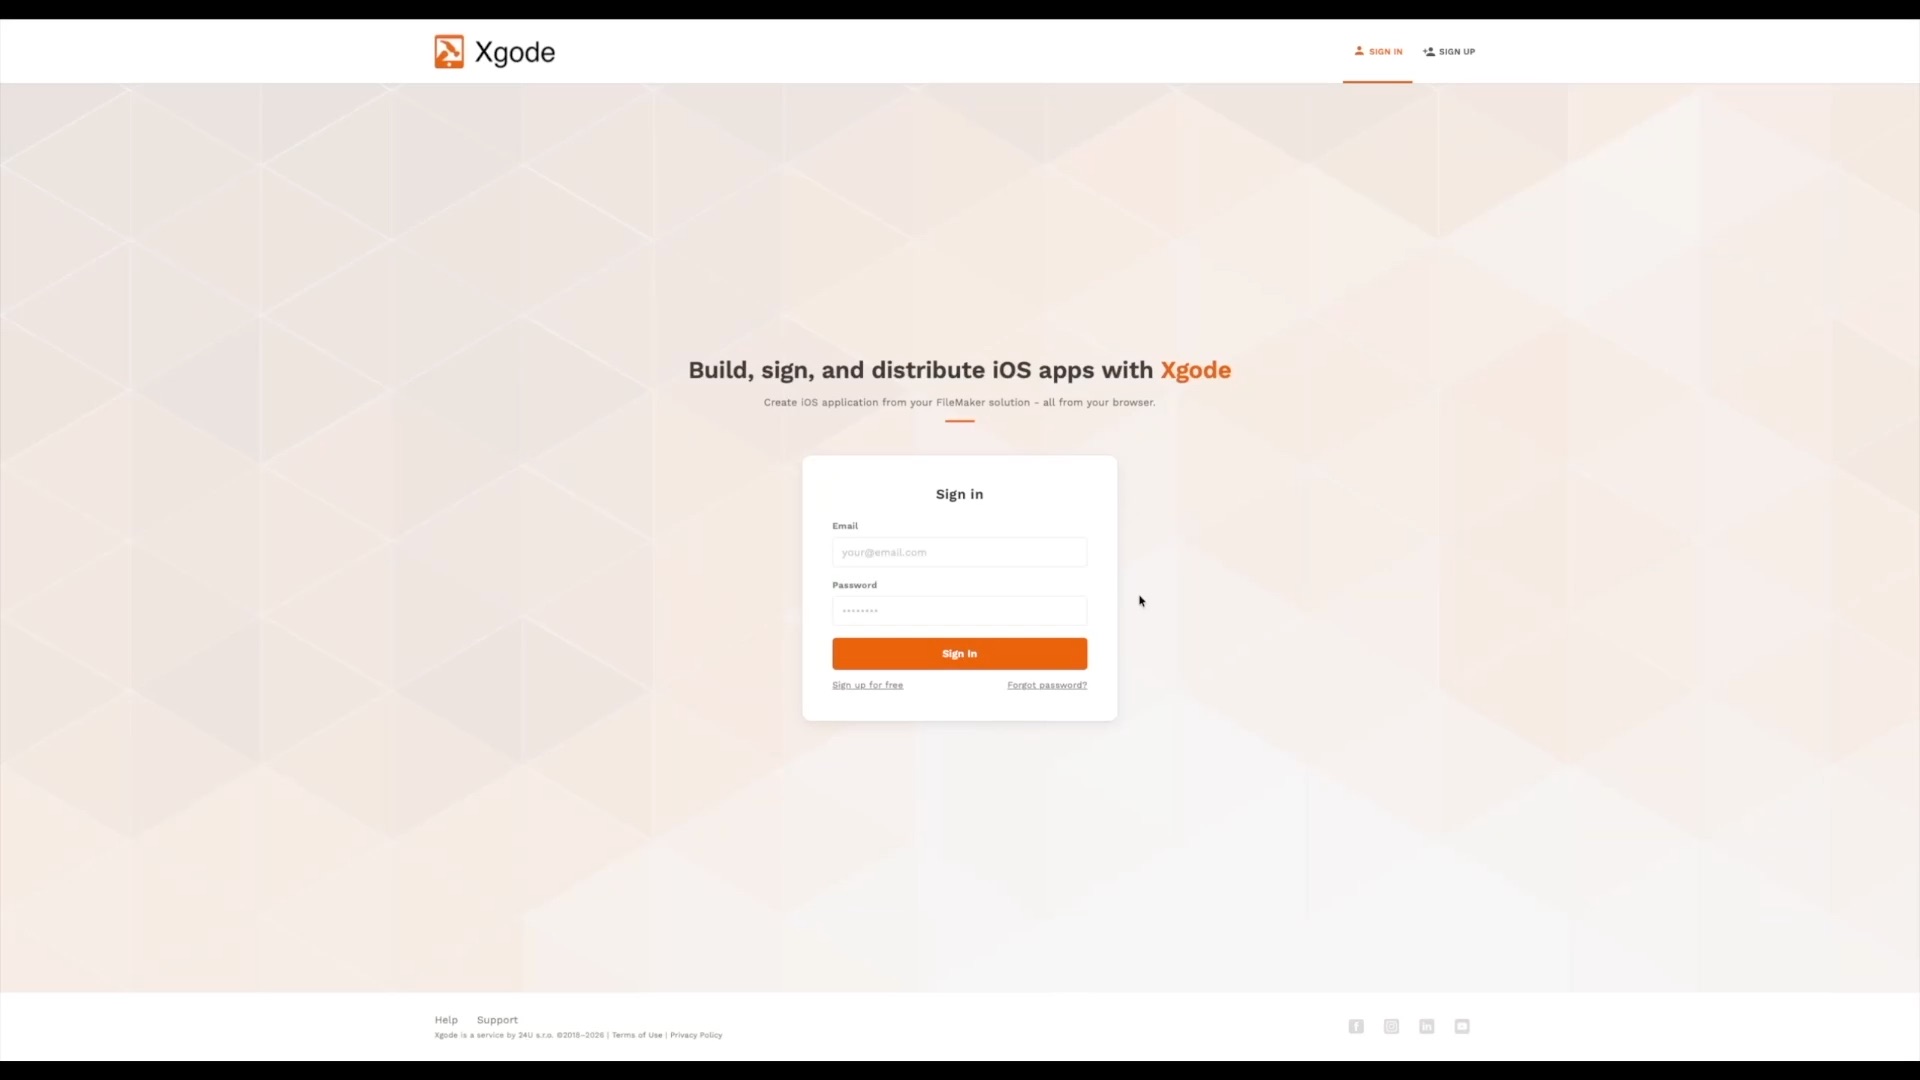
First time setup
~30 s
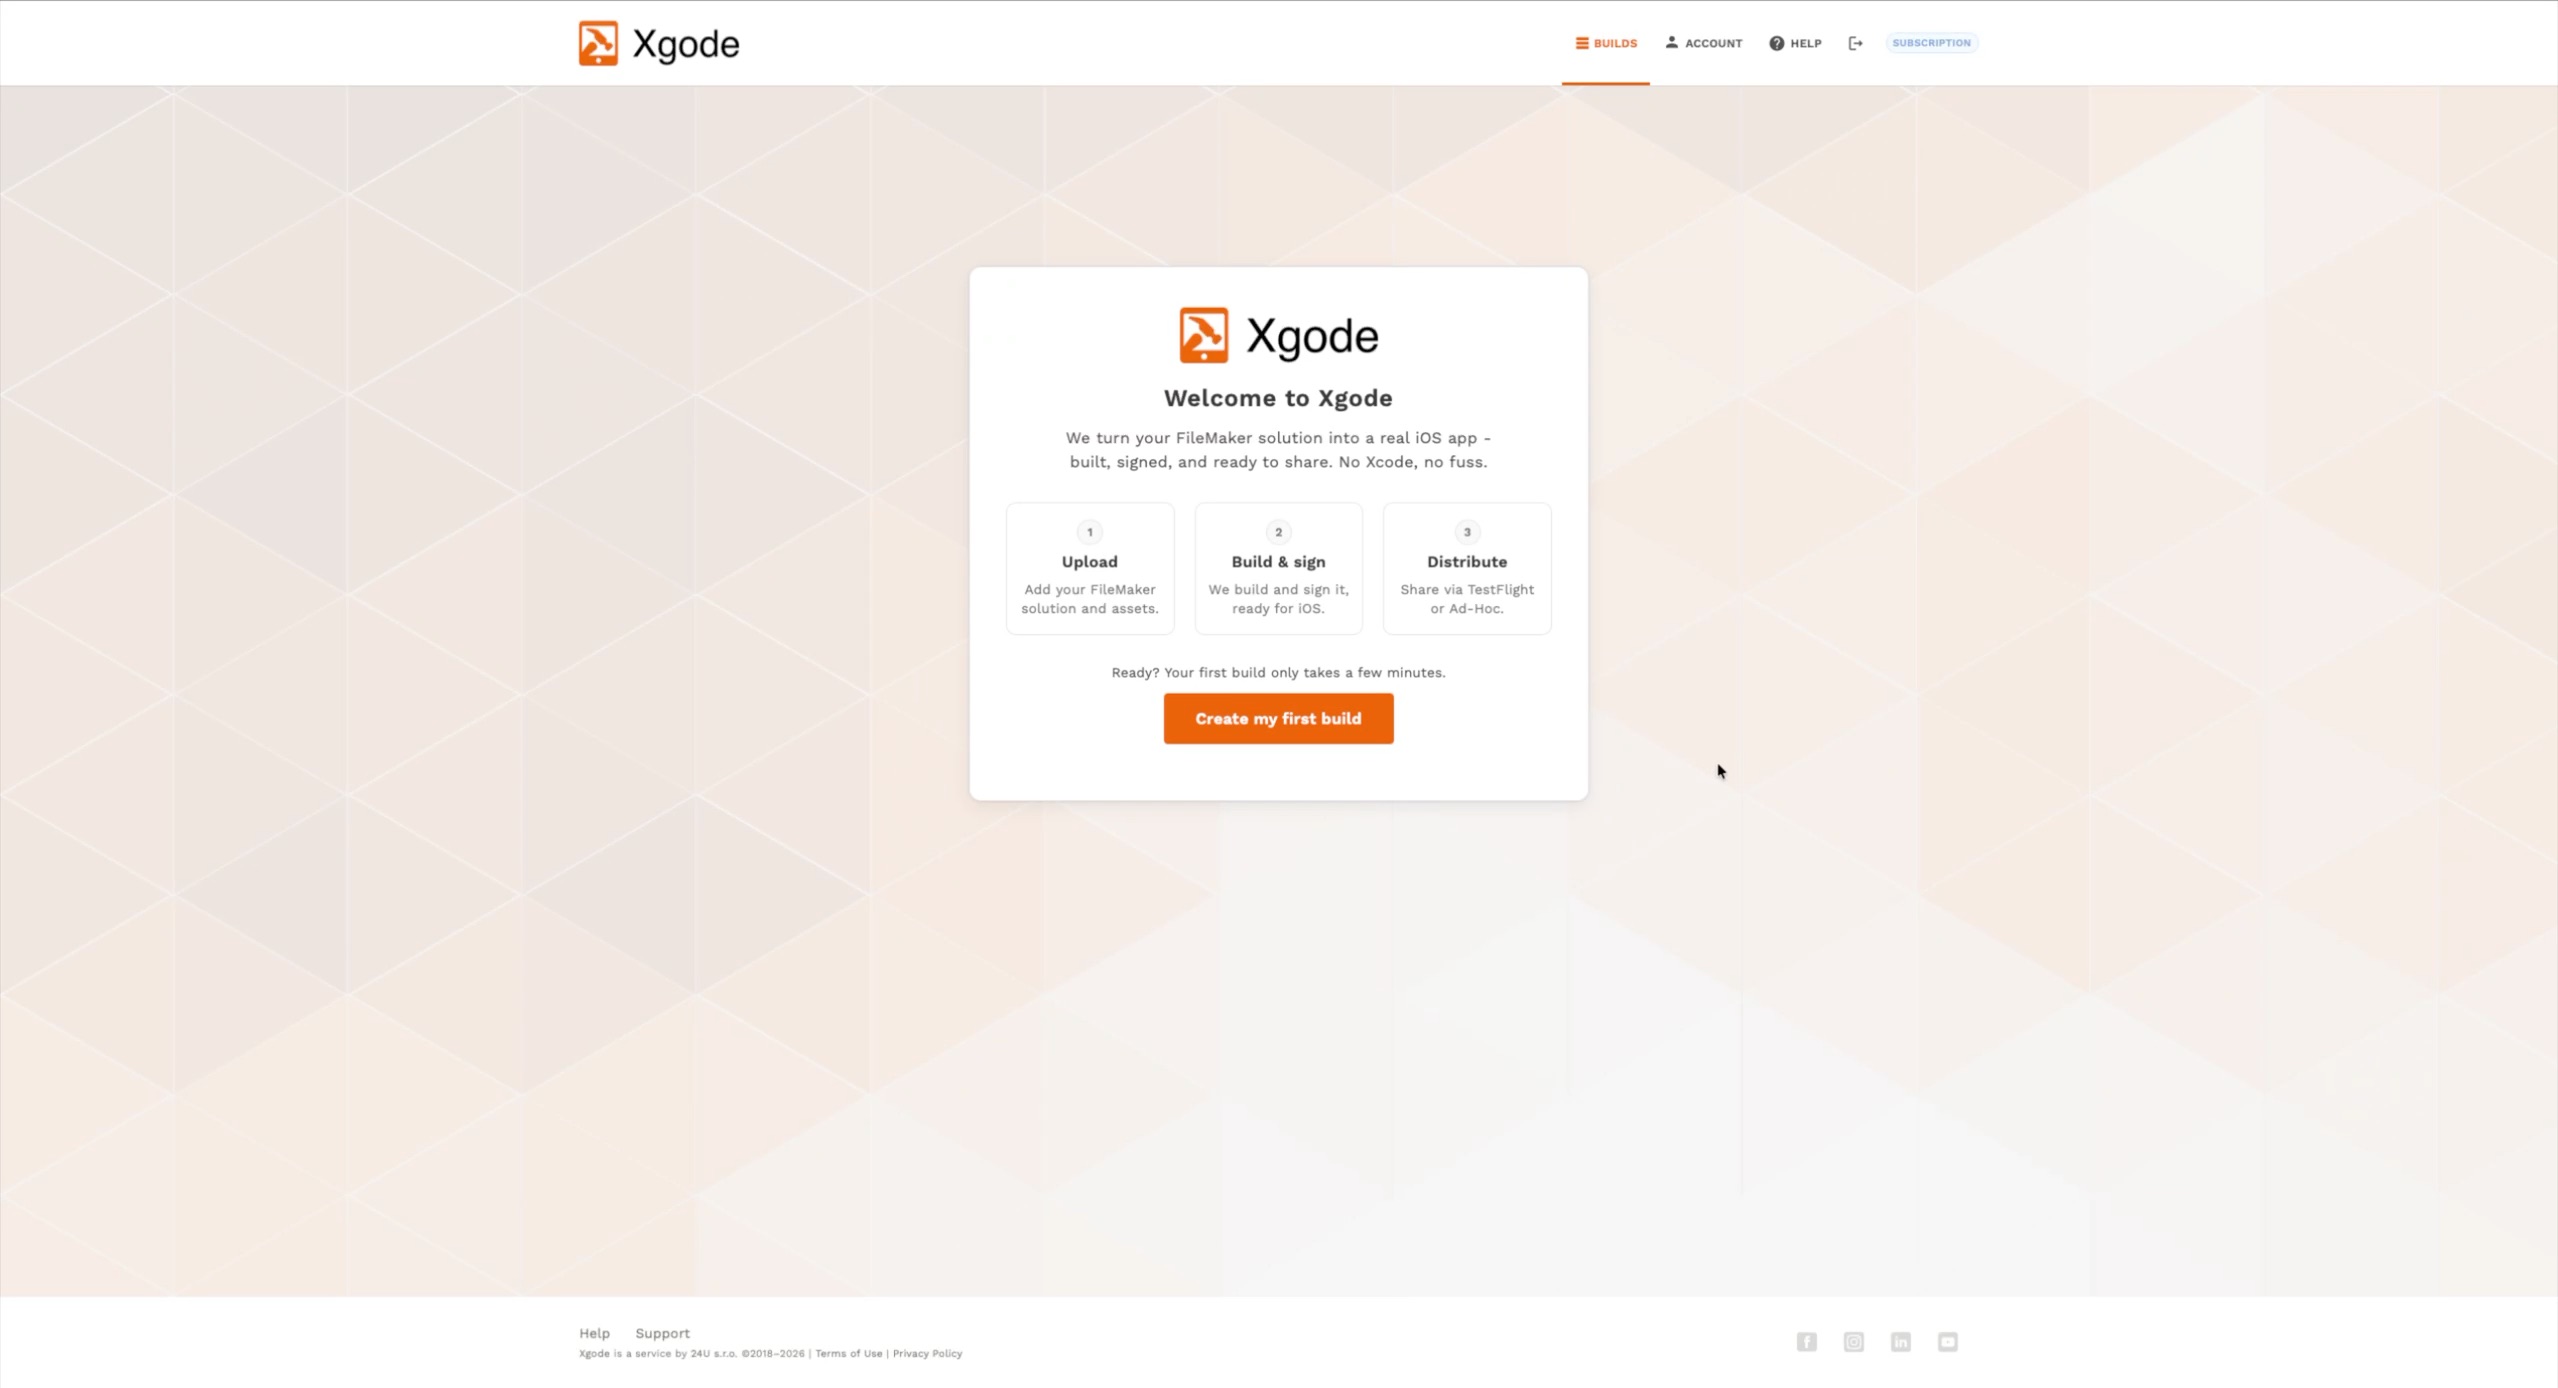
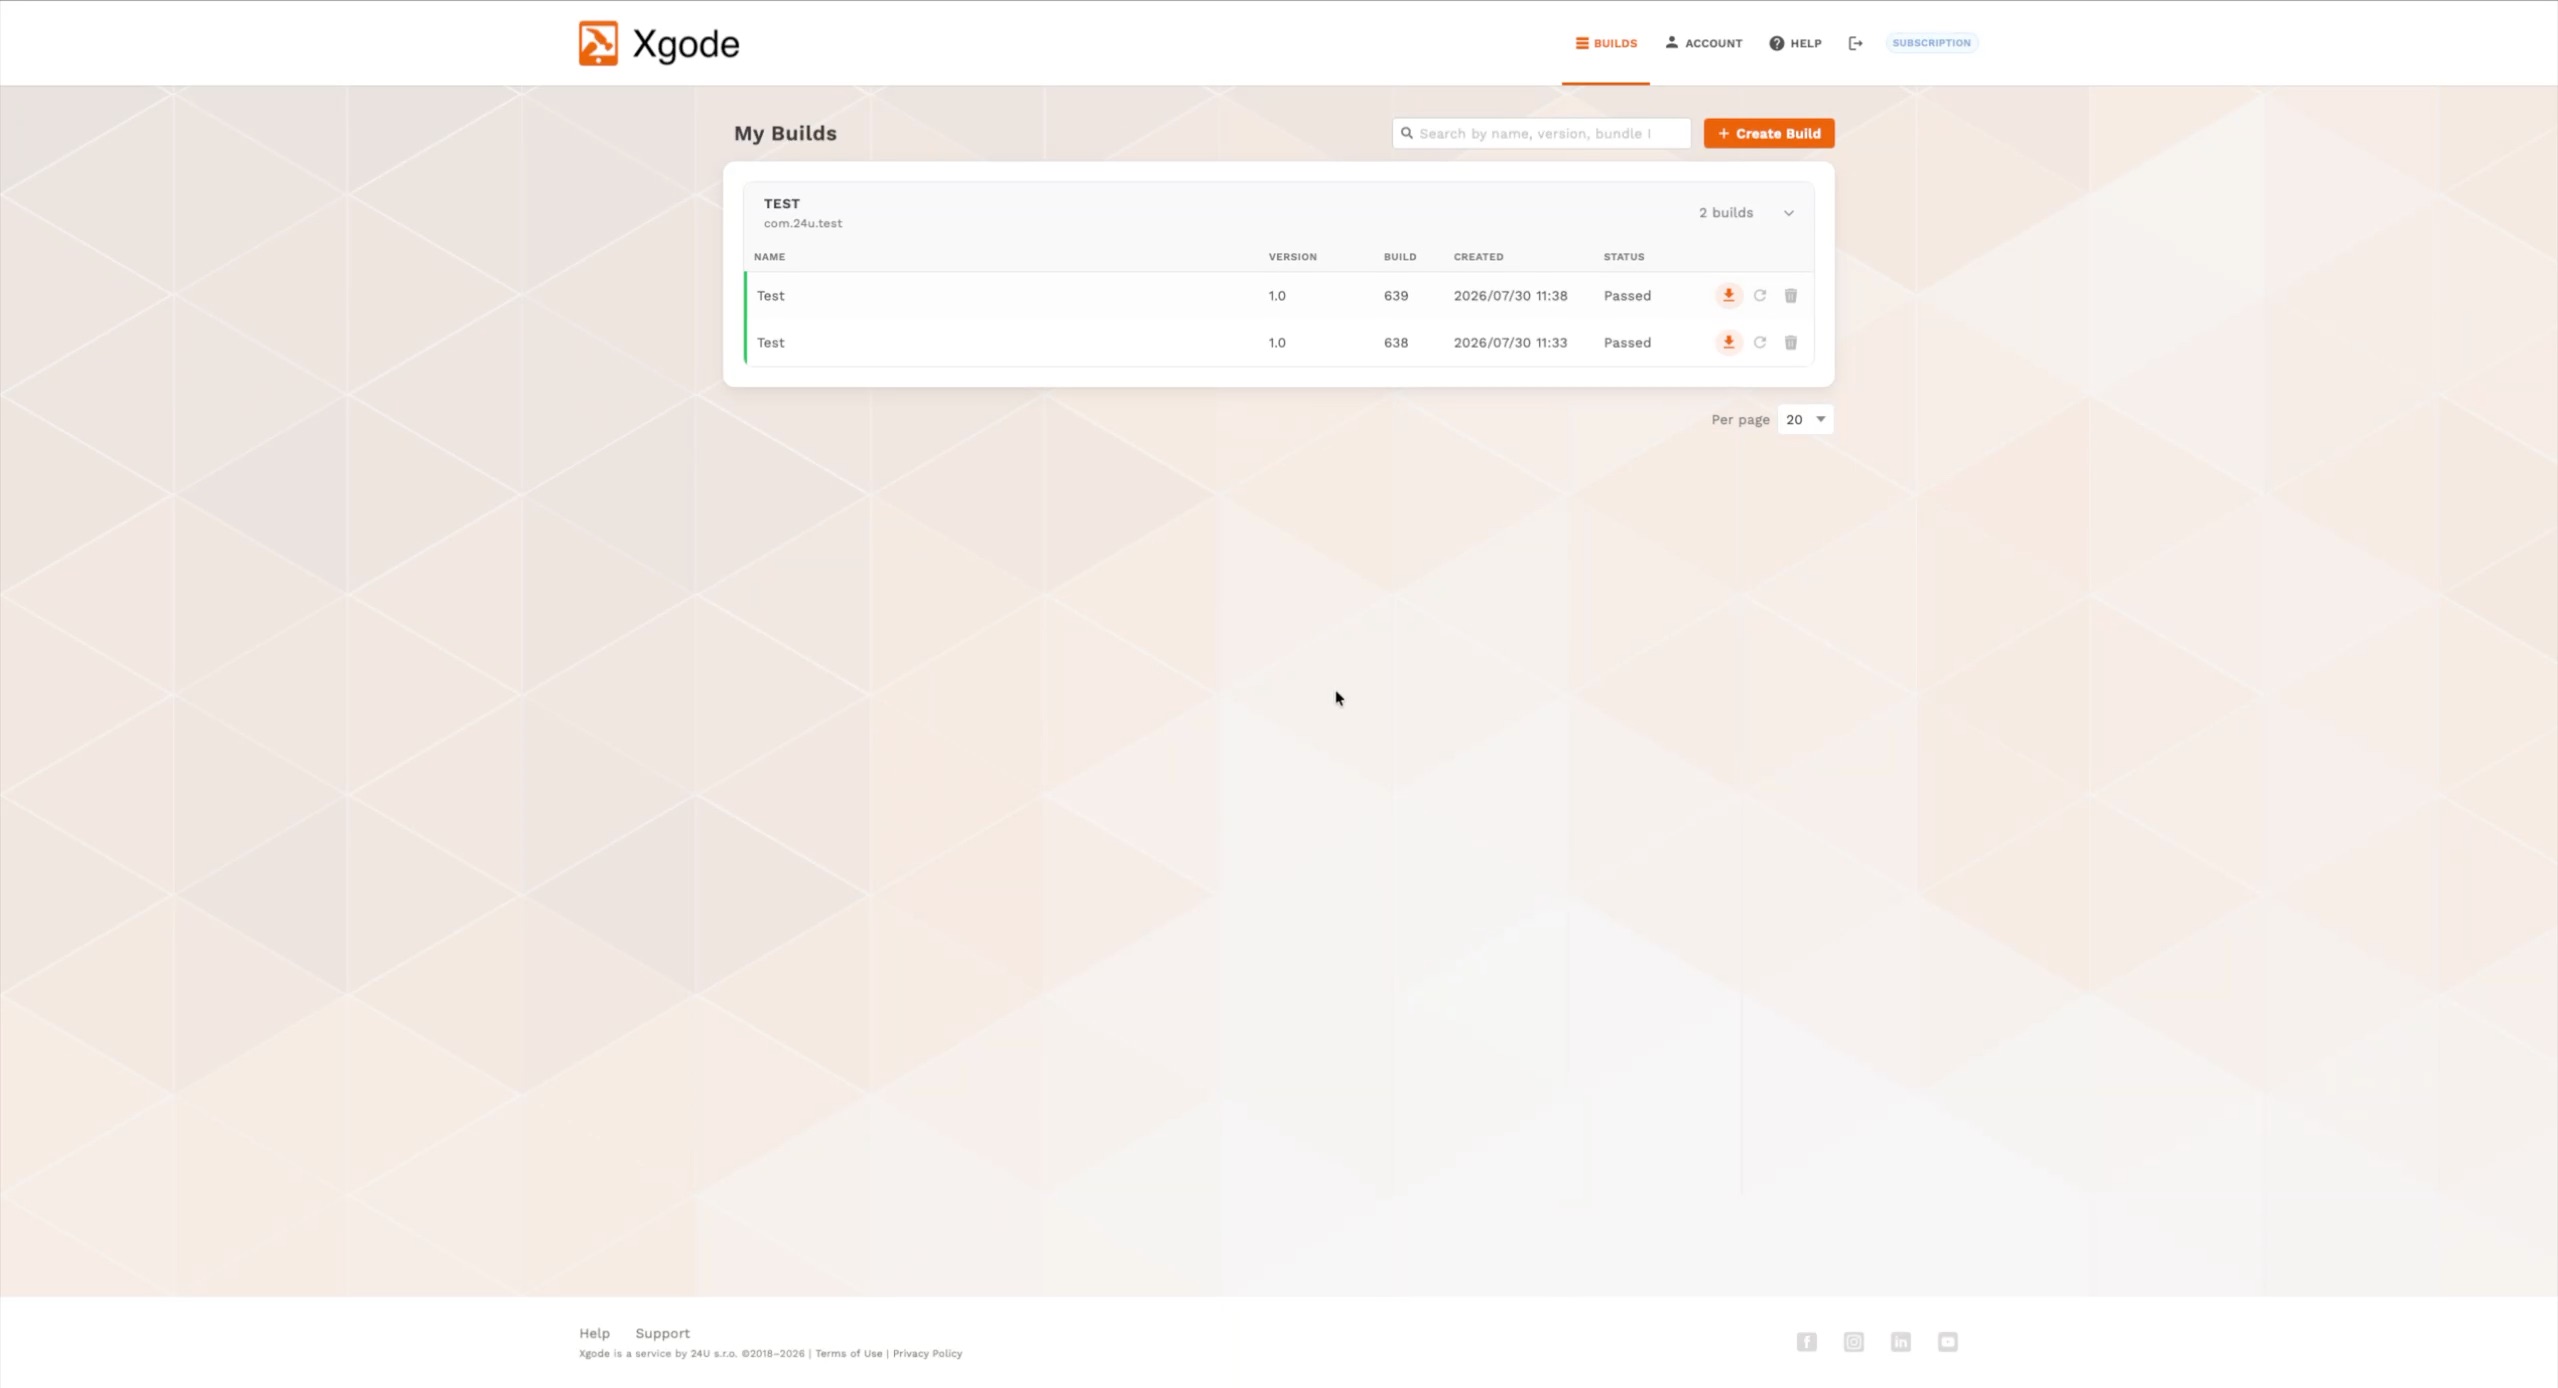
Your first build
~1 min
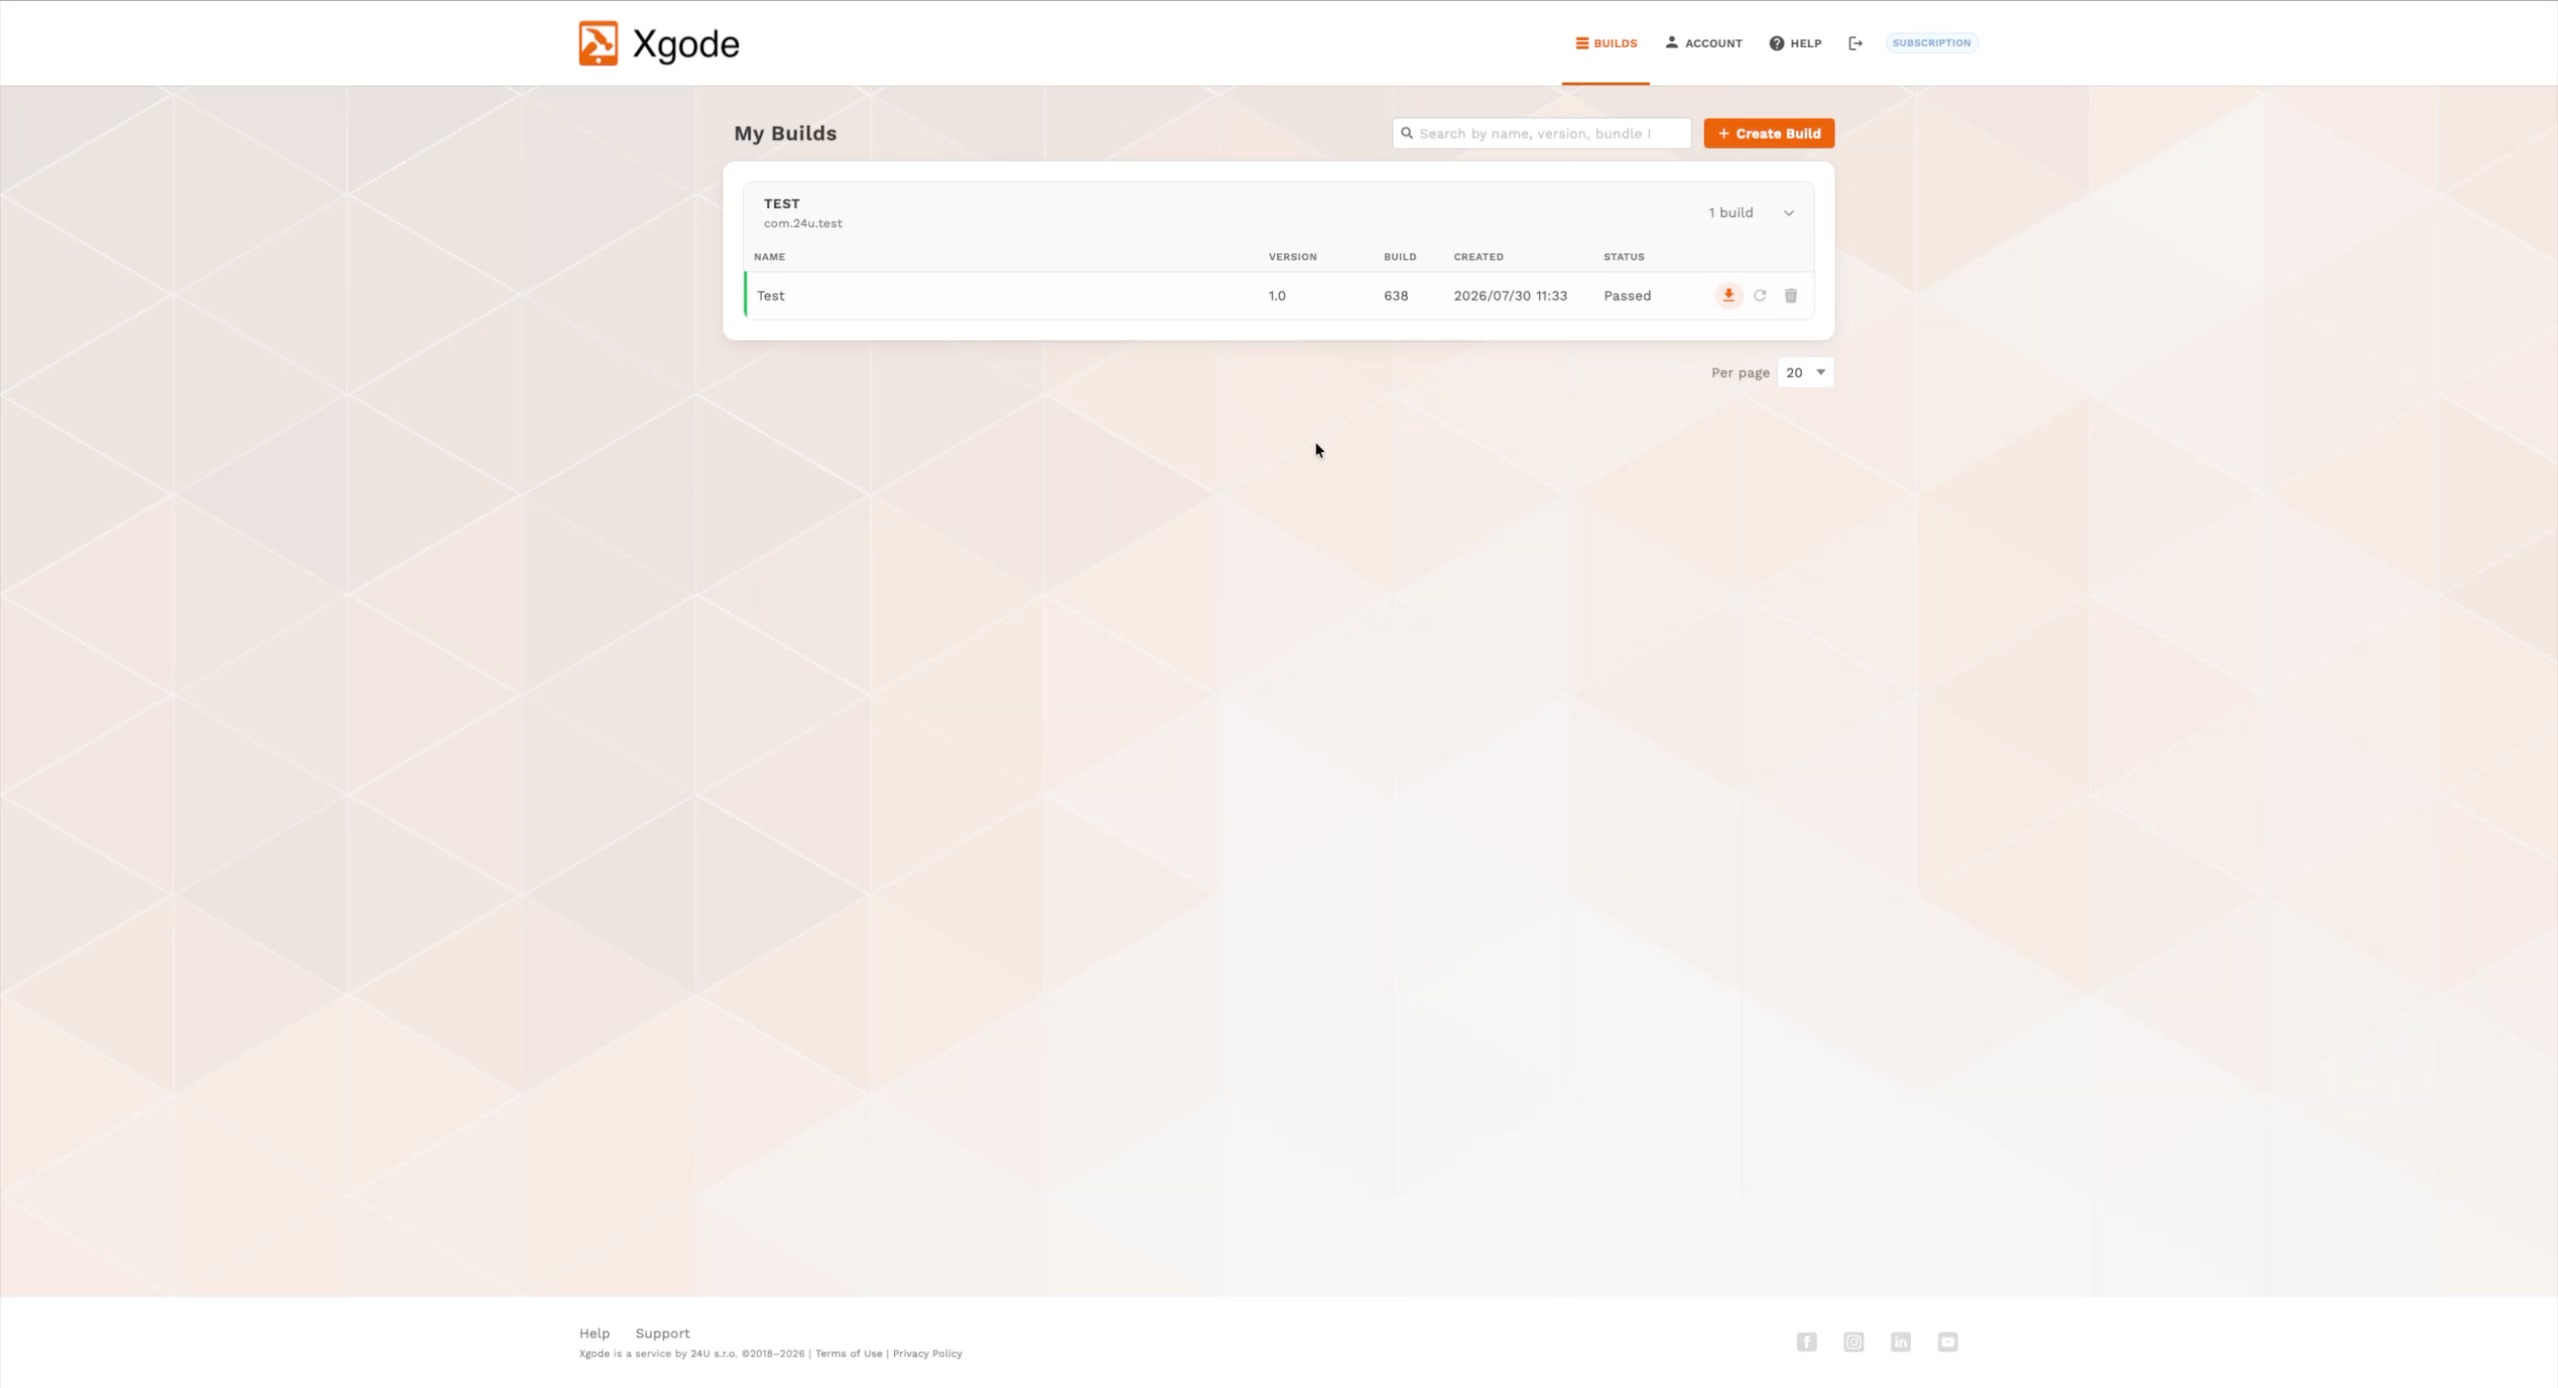
Advanced build features
~2 min
Updating and rebuilding your app
~1 min
How to create Apple Developer Account
~9 min
First time setup
~30 s
Your first build
~1 min
Advanced build features
~2 min
Updating and rebuilding your app
~1 min
Frequently asked questions
Getting started
Demo mode lets you experience the full Xgode workflow without an Apple Developer account. It's a great way to get familiar with the process before committing to a plan.
In demo mode:
- Builds are simulated - a pre-made demo app is built and signed using Xgode's own Apple account, not yours.
- File uploads are disabled - you can't upload your own solution file, images, or plug-ins.
- You get a limited number of demo builds included with your account.
- The full build flow, status updates, and install process work exactly as they do in production.
Demo builds cannot be used to distribute your own app - they are for exploration only.
Here's everything you'll need before your first real build:
- Purchase a plan - upgrade your account to get a paid subscription.
- Enroll in the Apple Developer Program - choose the App Store Program for TestFlight/App Store distribution, or the Enterprise Program for unlimited internal distribution. Must be an organization account.
- Invite Xgode to your Apple team - add team@xgode.com as App Manager (App Store) or Admin (Enterprise) with access to Certificates, Identifiers & Profiles.
- Enter your Team ID - go to My Account → Apple Developer Account and save your Team ID. Xgode will verify the connection.
- Upload your solution file - when creating your first real build, upload your
.fmp12file and fill in your app details.
Once the Apple account connection is confirmed, you're ready to build.
Your Apple account
It depends on how you want to distribute your app:
- App Store Program - for TestFlight and public App Store distribution.
- Enterprise Program - for internal distribution to unlimited devices without registering UDIDs. Typically requires 100+ employees.
Both must be enrolled as an organization - individual accounts are not supported.
- Go to My Account → Apple Developer Account and enter your Team ID.
- Invite team@xgode.com to your Apple Developer team with the role App Manager (App Store) or Admin (Enterprise).
- Make sure the invitation includes access to Certificates, Identifiers & Profiles.
Builds & distribution
- App Store - distributes via TestFlight or the public App Store.
- Ad-Hoc - distributes to a fixed set of registered devices (up to 100 UDIDs). Great for internal testing.
- Enterprise - distributes internally to unlimited devices without registering UDIDs. Requires the Apple Enterprise Developer Program.
- Developer - for development devices only, not for distribution.
Click the build row to expand it and read the status message. Common causes:
- Missing or expired signing certificate
- Incorrect Apple Developer account setup
- Issues in the solution file itself
If the problem persists, email us at xgode@24usoftware.com with your app name, bundle ID, and the error message.
Plans & upgrades
Still have a question?
Contact us